I’ve honestly smelled better in abandoned buildings than this dark brown, almost black solution sitting on the counter in my film lab (read: laundry room), but will it develop film, everything I’ve read and seen online says it well; my brain and nose say otherwise, and I pour it into the tank. So as I agitate the tank, I hope that this strange brew (with apologies to Bob & Doug McKenzie) does its job.
So before I continue, let me answer the question that some of you may be asking, what exactly is caffenol? Caffenol is a film developer that you can make at home using various readily available ingredients and is generally non-toxic and not restricted. The blend I will be working with is known as Caffenol-C-M. Within this blend, there are four ingredients: water, 500mL of it in my case, next is 50mL of washing soda (Sodium Carbonate), 8mL of Vitamin-C powder, and then 80mL of instant coffee. When it comes to coffee, the going theory is that the cheaper the coffee is, the better job it will do, so to that end, I decided to prove this through experimentation. I shot four rolls of Fuji Neopan Acros 100; three rolls I would develop in Caffenol-C-M and one in HC-110 (a traditional film developer). Of the three developed in Caffenol, the first would be developed in the Folgers Blend (cost of the bottle, $5.00), the second in the Nescafe Blend (cost of the bottle, $8.00), and the final in the Davidoff Blend (cost of the bottle, $11.00). But how exactly does this blend develop film? There are three different agents at work here; the first two are developers. The instant coffee contains a chemical called caffeic acid (C9H8O4); this is the same stuff you find in your average aspirin; this acts as your reducing agent and does most of the heavy lifting, converting the silver halide salts found in b&w film into metallic silver leaving them on the film base to create the image. The second developer is ascorbic acid (C6H8O6). This is where the Vitamin-C powder comes into play. Although this doesn’t do the same amount of work as the caffeic acid, it does speed up the process, reduces fogging, and prevents staining. The final addition is sodium carbonate. This is the accelerator, raising the pH level of the solution and allowing the developers to do their job. The process I’d use to develop is Caffenol-C-M (500mL water, 50mL washing soda, 8mL vitamin-c powder, 80mL instant coffee) developed for fifteen minutes. A water stop bath for one minute, then fix with Ilford Rapid Fixer (1+9) for five minutes.
A Note to my Readers: If you’re coming to this page from my review of the FPP Cup’ O Joe developer, you’ll notice that my control of temperature was not yet in hand. I had only been developing film for a year at this point, and my consistency was not entirely in line. And this also was my first experiment in creating my developer at home.
Control Group
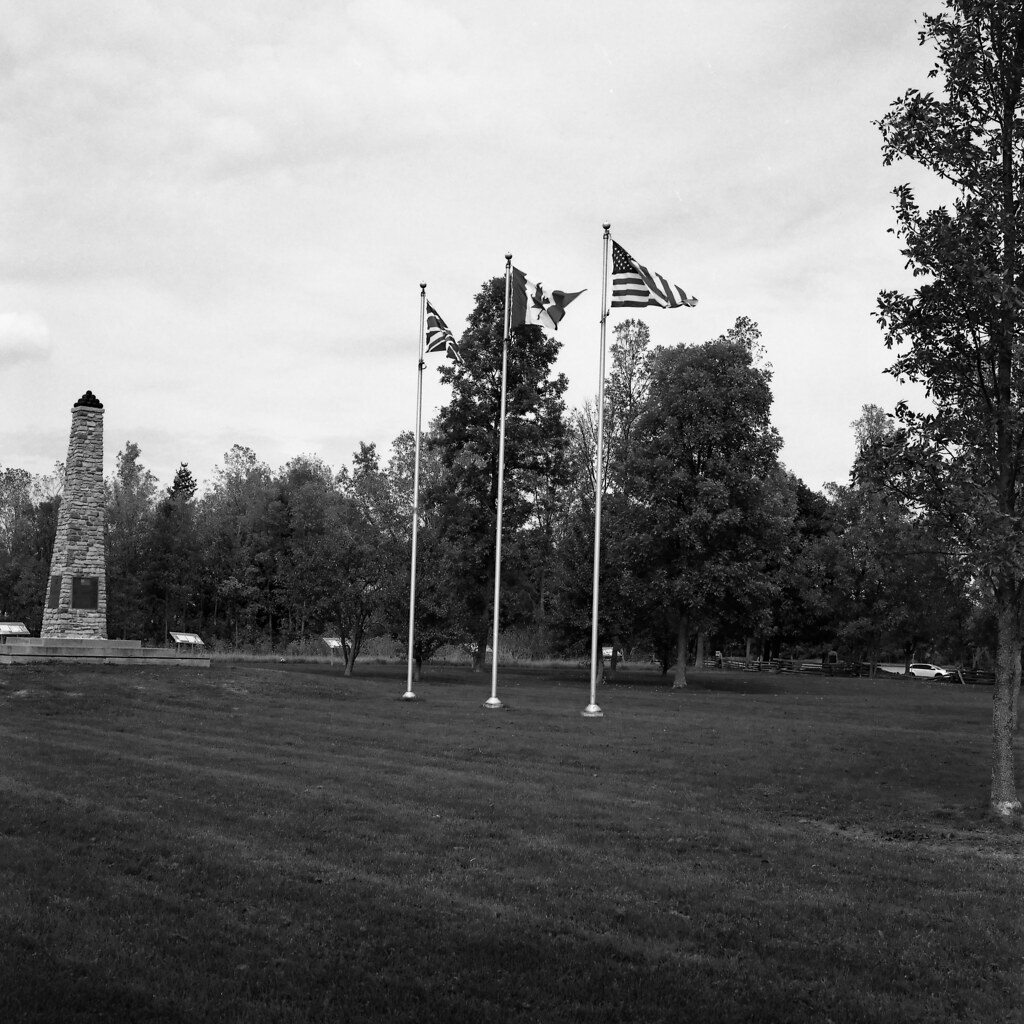
Like any good experiment, we need to establish a baseline; for this, I went with Kodak HC-110 to develop the Acros 100. While HC-110 and Caffenol do not share the same developer, they are related to the chemical composition. A better choice would have been Rodinal, or rather Blazinal. As you can see, Acros 100 produces excellent tonality, fine grain, and sharp images in the standard Dilution B mixed from a stock solution rather than syrup.


Roll 01 – Folgers Blend
The first roll through the tank was the Folgers Blend, the negatives were relatively dense, and I was afraid there were no images on them, but after holding them up to the light, I could see the frames. The next step was into the scanner, and this is where I was blown away; although reasonably flat, the tonal range and grayscale were fantastic, and the sharpness of the images was truly something else.


Roll 02 – Nescafe Blend
The second roll was developed using the Nescafe Blend. Again the negatives were relatively dense, but again images were there. When the scans came out, the tonal range was much flatter than what I had gotten from the Folgers blend, and the photos were not as sharp. Although the images were excellent and had a decent tone separation, there wasn’t any depth.


Roll 03 – Davidoff Blend
The third roll was developed using the Davidoff Espresso 57 Blend. Wow, just wow, overall, the negatives were a lot cleaner than the other two blends, with the images much clearer to the naked eye and when held up to the light, but the real surprise was again with the scans. The image was much sharper than the Folgers blend. There’s lots of depth and separation in the tones, which are equal if not cleaner than the Folgers, hands down.


So, in conclusion, does the cheaper instant coffee stand theory? Not really, all three types proved that they could develop film without any major issues, but in my mind, the Davidoff (most expensive) did the better job by far. How does caffenol stand up to regular film developers (HC-110) well, it really doesn’t, Caffenol produces much more grain in the film, which isn’t a bad thing) and does produce a much denser negative compared to HC-110. But Caffenol does hold one thing that HC-110 does not; it’s something that you can blend and modify all you like to produce the image that you want. So if you take anything out of this, it’s a springboard to try it yourself and continue playing and having fun. I’d like to thank the Caffenol Blog, the Caffenol Cookbook, and Deputy Dan Domme for their help in making this a success.