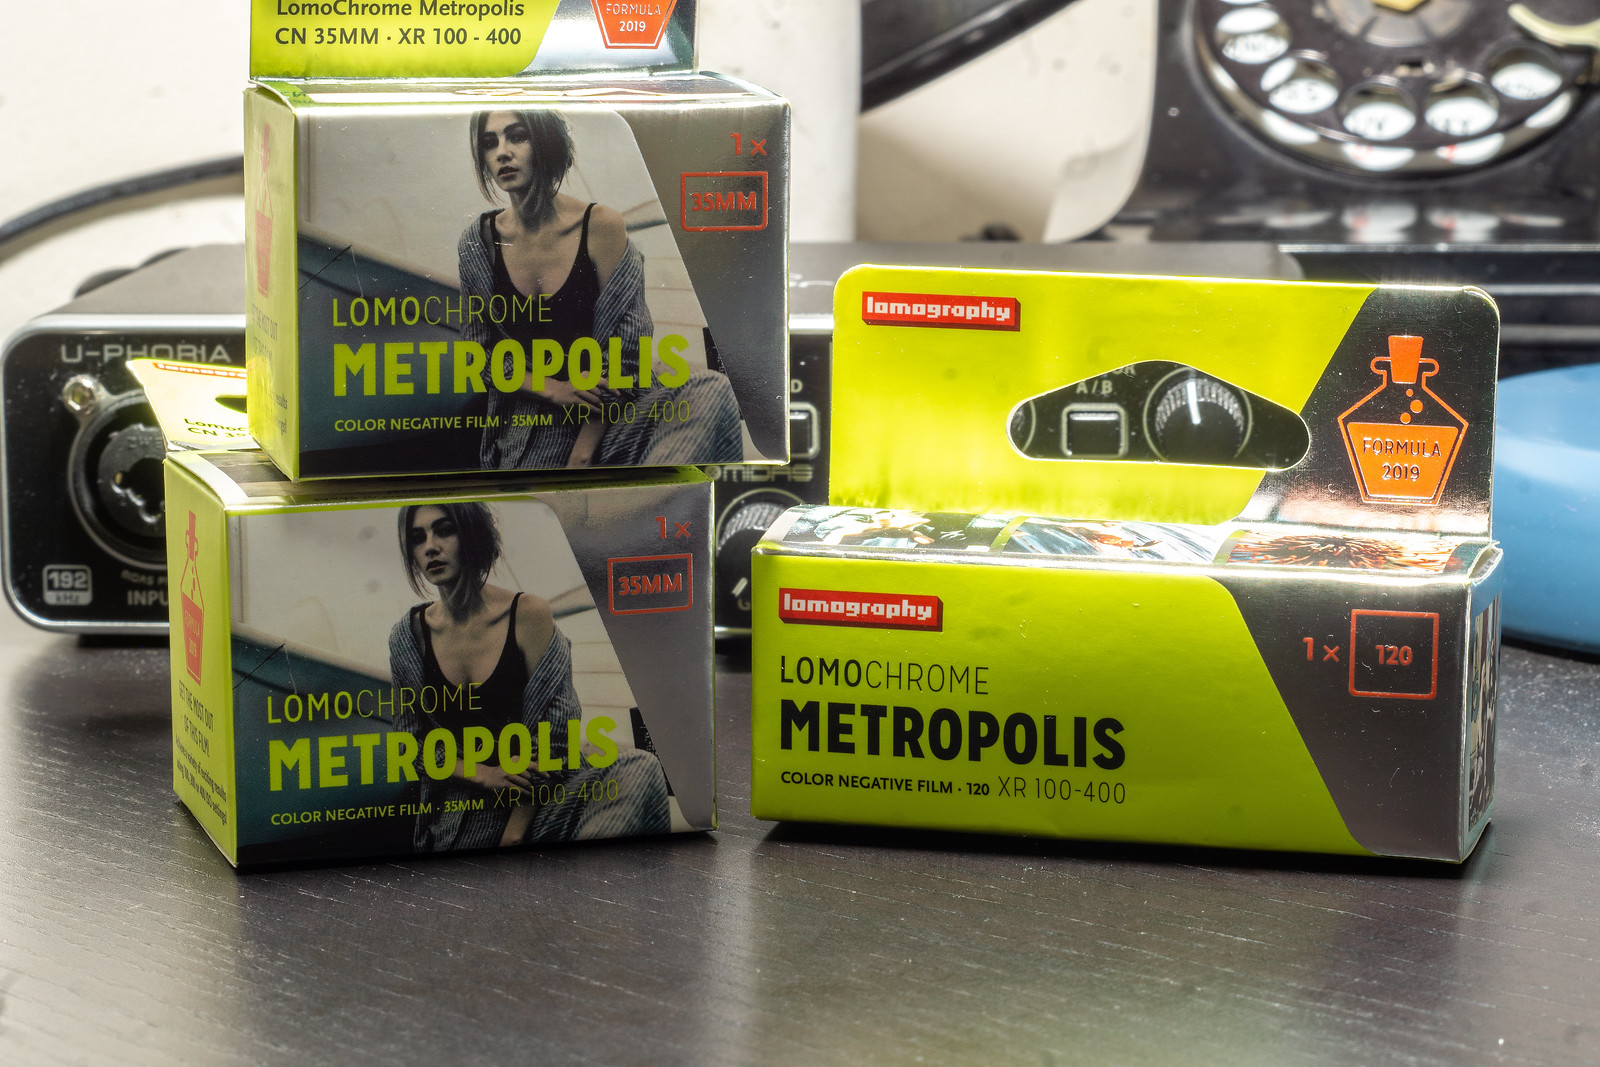
These days it seems that photography Kickstarter campaigns are a dime a dozen. But the company with the most number of wins under their belt is Lomography. Say what you will about them, they can deliver on their promises. Sometimes it might take a swift kick in the rear-end to get them moving, but they do move. Now I’ve shot a fair number of Lomography films, most are re-rolled and rebranded. Of course, they also encourage production of other film stocks, such as their Berlin and Potsdam films that are both rebrands of ORWO N74 and UN54 films. But they also produce some wild false colour films, such as Purple and Turquois. Now, these didn’t tickle my fancy I have shot purple before, and it’s alright. So when I saw what their latest false colour film could do I was interested and backed it for a set of five rolls, with the offer to swap one of my 35mm rolls for a 120 roll from James Lee. James’ experience proved a little different than the box was addressed to him, but the packing slip was for a photographer in Montreal who also ordered 120, but the box had 110. Eventually, that got sorted out. But I have to say; Metropolis is different, the colour palette does lend itself to a Fallout/Mad Max look with dull muted tones leaning more towards a dark blue/sea green colour. Great for buildings, but honestly, the colours make people look weird, and not in a good way. Normally I only shoot two rolls of film for colour film reviews, but because Metropolis can be shot between 100 and 400, I decided to shoot three rolls, one at 100, one at 200, and one at 400. Then got them all processed as normal.
Film Specs
Type: False Colour Negative (C-41)
Film Base: Acetate
Film Speed: Variable, ASA-100 to ASA-400
Formats Avaliable: 110, 135, 120
Colour Rendition
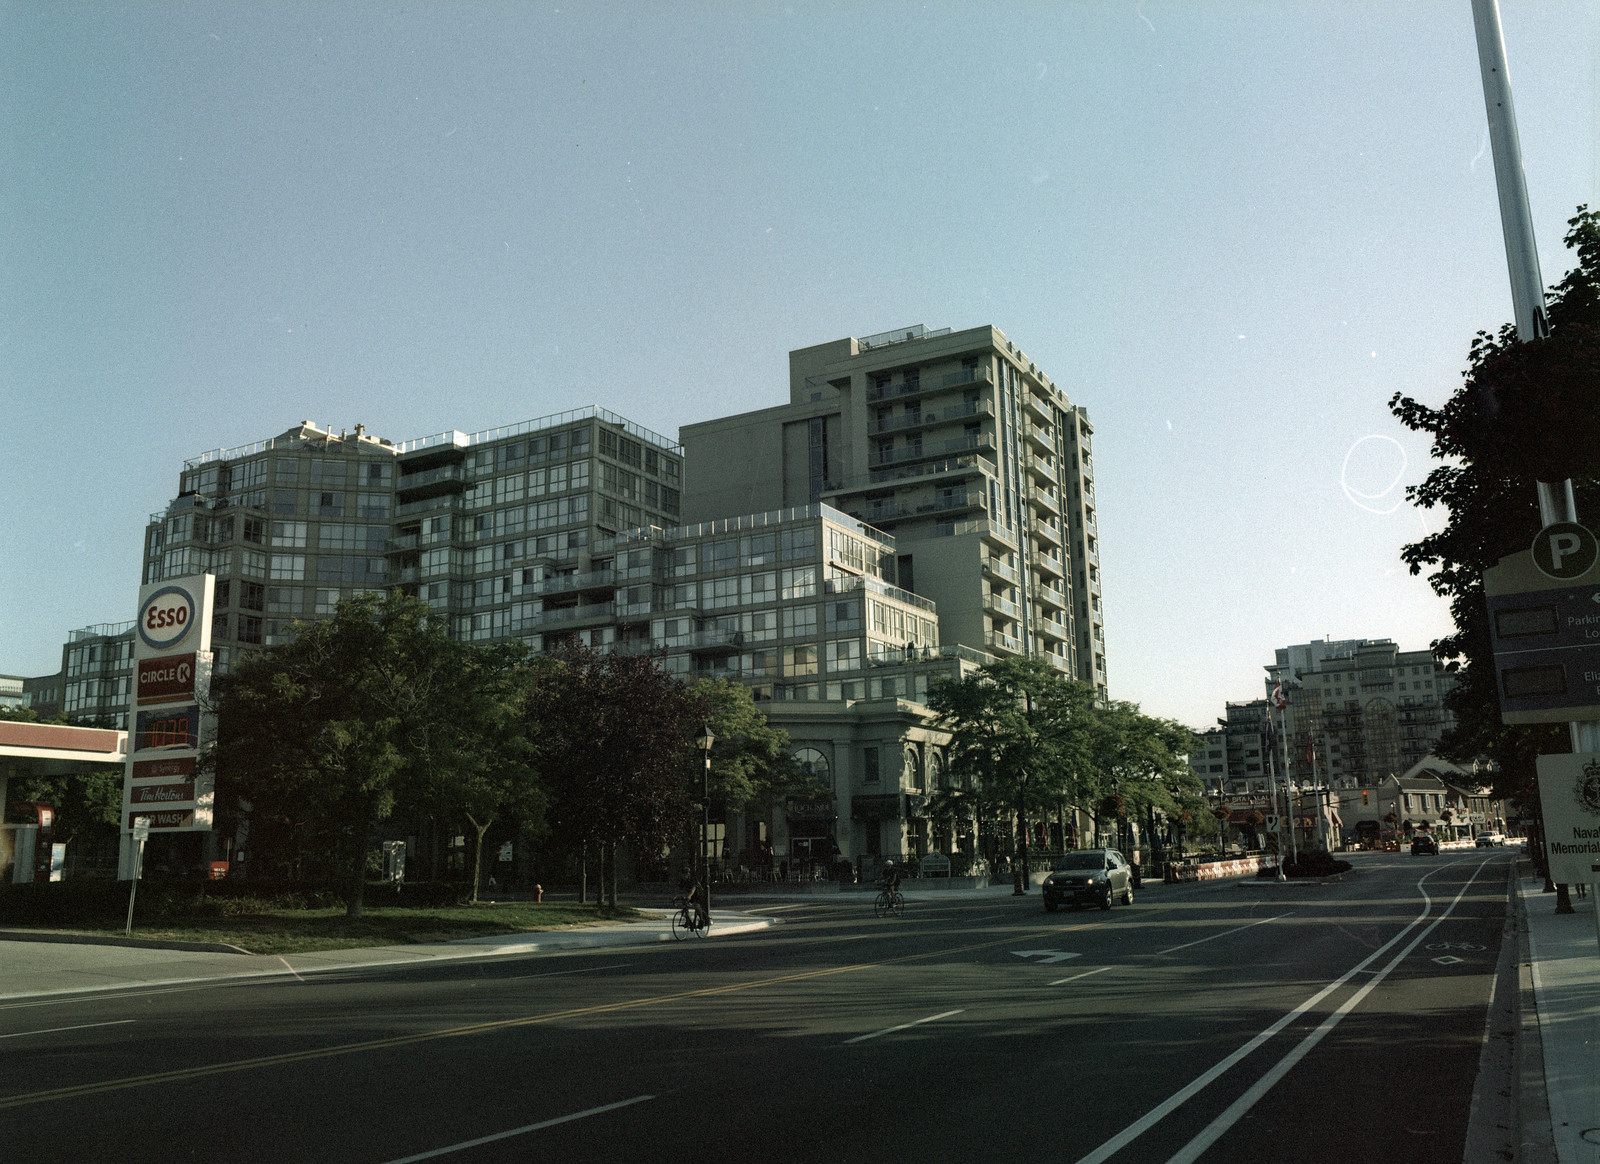
As they say in the Outer Limits, do not adjust your monitor. Metropolis is what is called a false colour film, so if your film looks expired, you’re doing it right. While you know what you’re getting with Lomography Purple, the term Metropolis isn’t precisely letting you know what you’re going to get. The false colour will render in a green-cyan blend and well suited for the urban environment. With Purple, you wanted a lot of light, with Metropolis while it performs well in sunlight, a cloud cover works better. Also, the colour rendition changes based on the speed at which you expose the film. As you can see, the colour cast is nearly impossible to spot on the ASA-100 examples also working in super bright direct sunlight in a lot of nature. The ASA-200 you can see that colour change a little bit more now that I have more buildings in the photos and at ASA-400 you get the full effect even on the bright summer morning during which I shot the roll. I’m just happy that the colour cast works in my mind, and I much prefer it over the purple and turquoise films produced by Lomography.
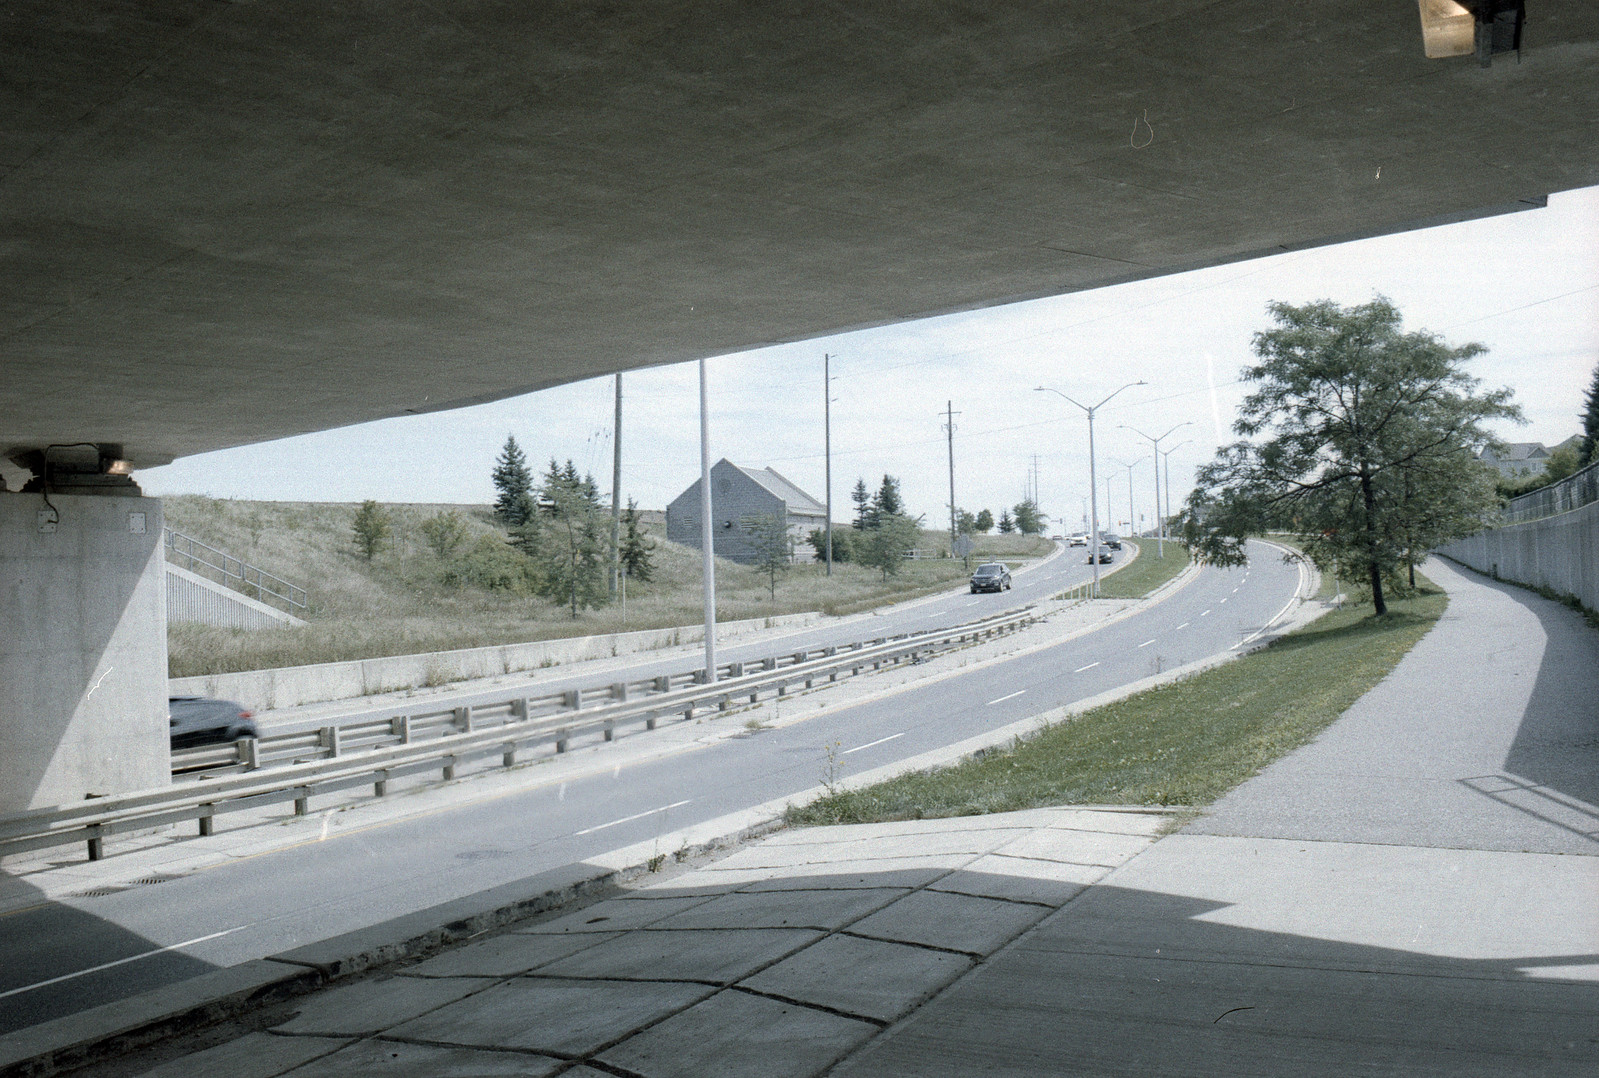

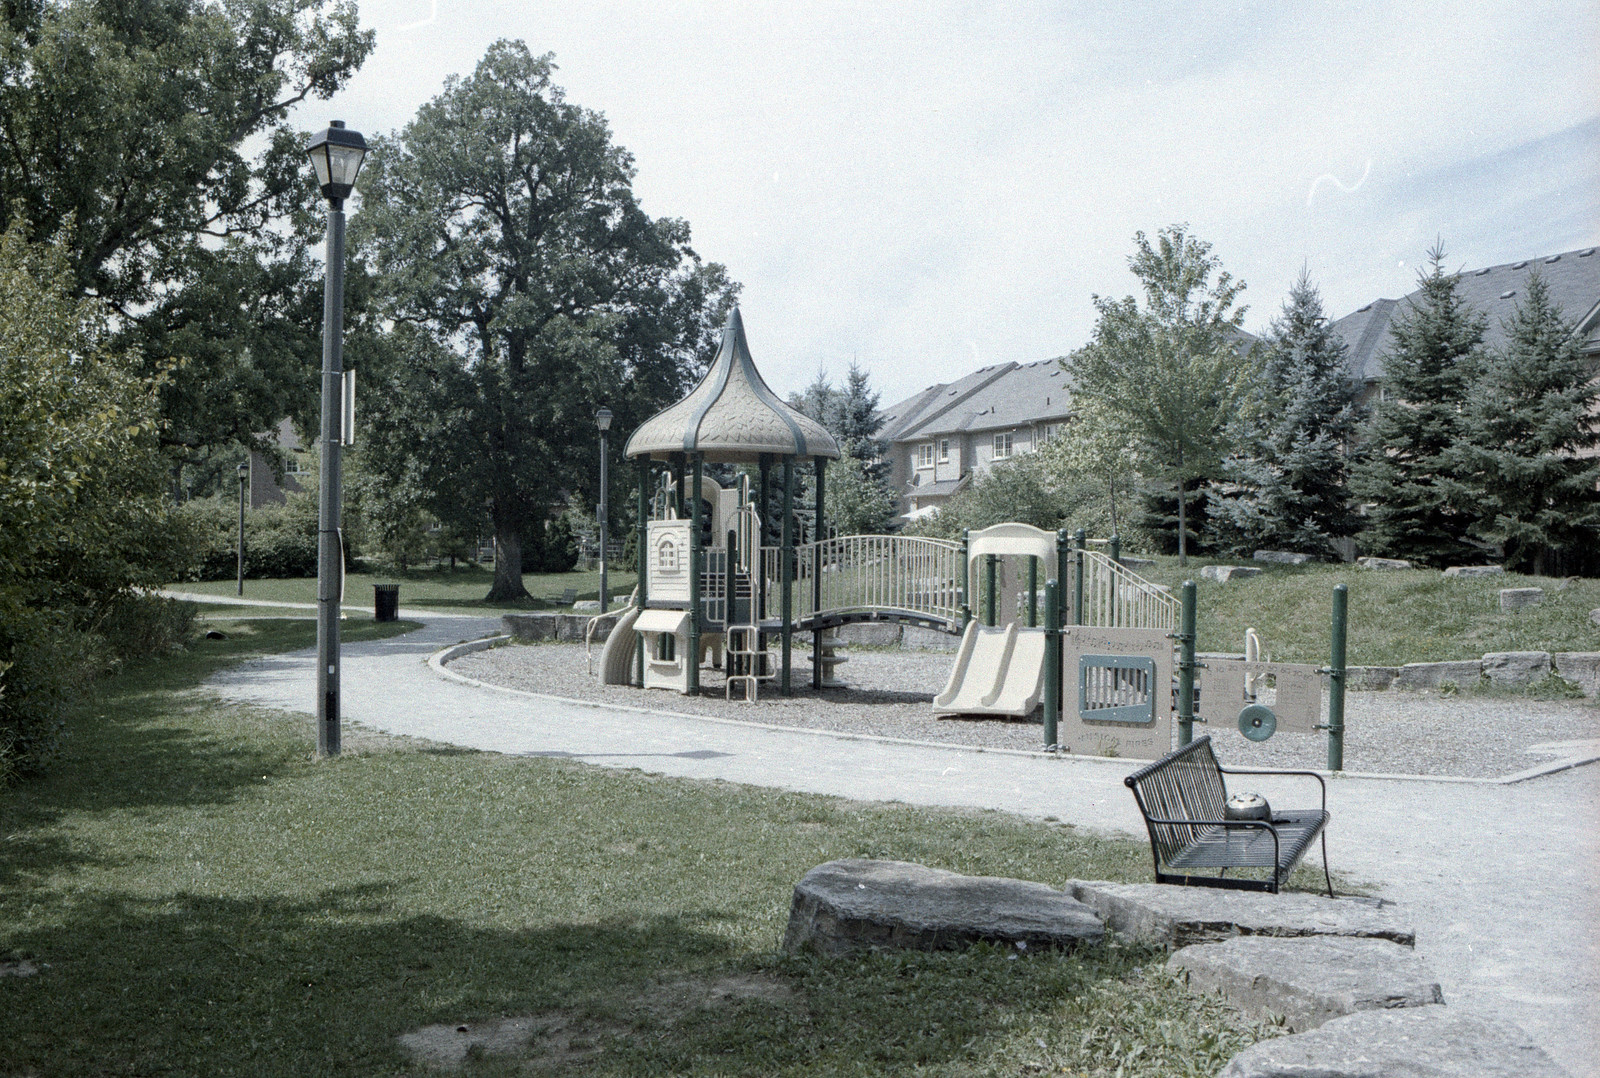

Image Quality
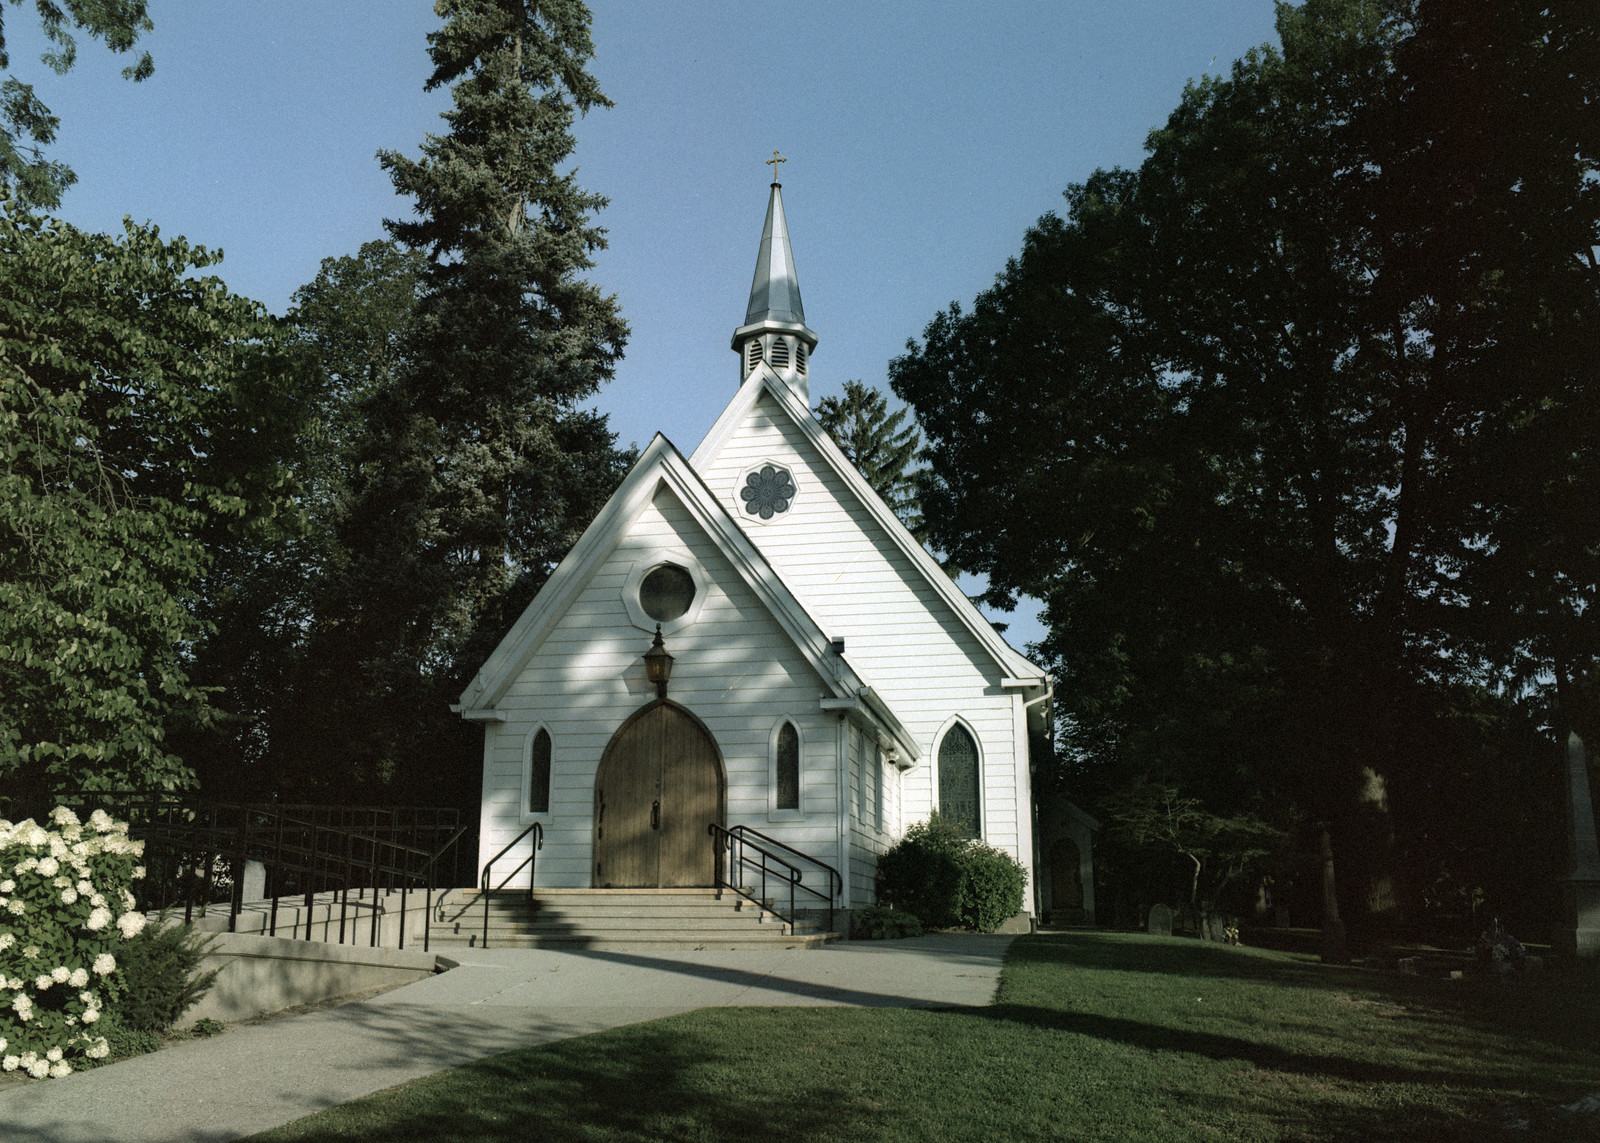
For a Lomography film, the quality of the image that you get out of them is decent. But don’t expect the same quality level that you would get from Ilford, Foma, or Kodak. The grain isn’t too bad and doesn’t change much where you shoot it on the film speed scale, while not super noticeable on 35mm or 120, I don’t know how well the grain will render in 110. The images aren’t the sharpest out there, but it works in this case. In general, I didn’t find too many quality control issues with the film. The biggest problem I found was some light leaks along the sprocket holes that leaked into the frame (I cropped them out), but nothing too severe or enough to complain about. As I mentioned earlier, the colour cast is suited far more for the urban environment where you get that false colour on artificial items rather than natural and shooting the film at ASA-400 gives you the best results.


Scanning
The biggest issue with false colour films comes when you start scanning. Most scanners and software want to ‘fix’ the colours often making them look terrible. I found that working with the Nikon Scan software and my Coolscan V don’t produce the best final image. Instead, I decided to work only with my Epson V700 and Epson Scanner software. I would let the scanner run through, select my frames and then hit reset on my chosen frames. When I work on the image in Photoshop, I’ll only adjust the levels without touching colour adjustment. I find that it gives the best results for what you see online for the Metropolis results. There is a little way chromatic aberration or colour noise introduced in the scanning process that is easily removed with the noise reduction tool in Photoshop. Of course, I don’t know how the film would respond using a digital camera scanning method and applications such as negative lab pro and Lightroom. If you’ve never worked with a false colour film before looking at Metropolis might seem a little daunting, but after the first couple of frames, you’ll have your process down. The critical part is getting results that you like and are proud to post.


Overall Impression
Of all the false colour films from Lomography, I like Metropolis the best. As someone who shoots primarily in the urban environment, it just works. The colour cast gives you something unique and gives you that washed out appearance. Almost someone out of the Fallout series of video games. Although being mostly a black & white shooter, I probably won’t grab Metropolis for a regular use film, but if I had to do a photoshoot with a post-apocalyptic vibe then it certainly will work! The one thing that you have to watch out for is for those who process at home, the new canisters used by Lomography are a pain to open up, either level your tail out or have a leader retriever and know how to use one. Metropolis is fun, unique, and right on brand with what Lomography produces.
1 Comment