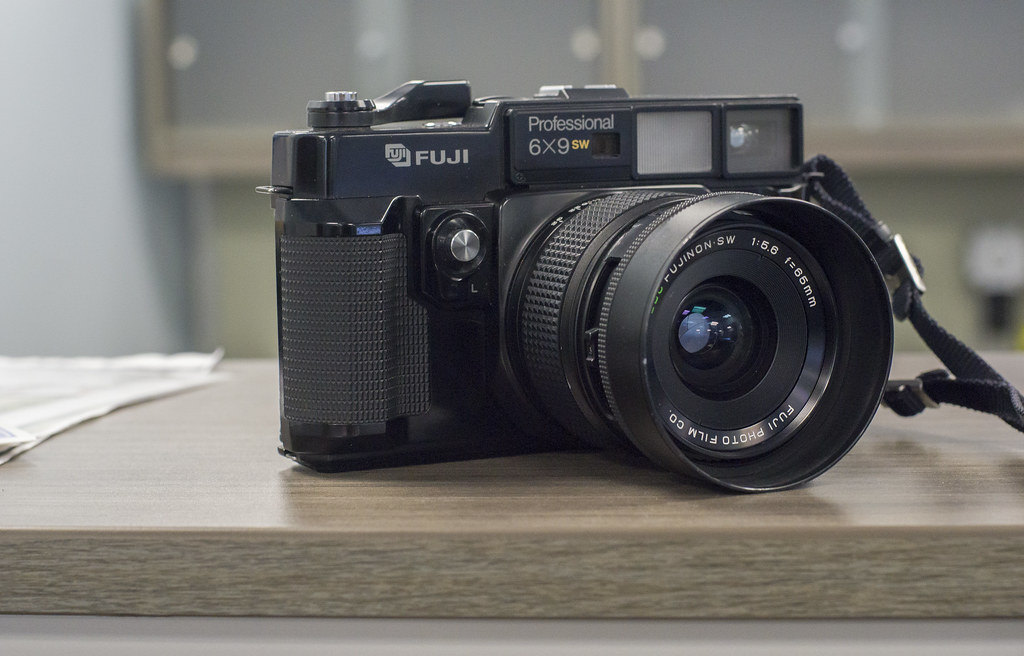
The GSW690II is not a camera you need, but they sure are fun to have. Initially designed for taking group photos of Japanese tourist groups, the camera has become a bit of a cult classic among film photographers. An all-mechanical wide-angle medium format rangefinder with the appropriate nickname of Texas Leica. This camera offers a big 6×9 negative and a wide-angle lens perfect for landscape and architecture in a portable package that will work flawlessly in any weather condition and excellent optics on the front. Thanks to James Lee for loaning this beauty out for a review.
Camera Specifications
Make: Fuji
Model: GSW690II
Type: Rangefinder
Format: Medium Format (120/220), 6×9
Lens: Fixed, EBC Fujinon-SW f=65mm 1:5.6 (6 Elements, 4 Groups)
Shutter: Interlens Leaf Shutter, 1″ – 1/500″ + Time
Year of Manufacture: 1985-95
Background
Like all mid-century Fujifilm medium format rangefinders, the GSW690II traces its history to the increase in the tourism industry. The original two cameras were set up to take either 6×7 or 6×9 negatives. Lead designer Yamamoto Katsuhiko decided to look at two separate camera systems to develop foundational design choices. The first is the Graflex Combat Graphic, a camera specifically designed as a 70mm film rangefinder. The second is the Leica M-Series. The idea was to create a rangefinder with the ease of use of the Leica but combines the power and image size of medium format film. The original two medium formats interchangeable lens rangefinders came out of Katsuhiko, the GM670 and G690. While the 6×7 camera was aimed at print applications, the 6×9 would be for tour operators to take group photos, thanks to the sizeable 6×9 negative. Also, shooting only eight frames means that there could be a quick turnaround on the images. Initially released in 1968, the G690 came with four lens options 65mm, 100mm, 150mm and 180mm lenses. While most cameras of the rangefinder type had the shutter as part of the camera body, Fuji placed a leaf shutter (by Seiko) in the lens. To change out the lens, the photographer had to close a shutter to prevent accidental exposure of the film. Fuji released a minor update in 1969; the G690BL included an interlock to prevent the photographer from removing the lens without first closing the protective shutter. Fuji also re-released the original four lenses but in a black finish. Fuji continued to improve on its design and, in 1974, released the GL690. Fuji improved the lens mount and viewfinder and added a front-mounted shutter release. Fuji also released all-new lenses with improved rubberised focusing rings and added a 50mm lens. They also developed a 100mm lens with a semi-automatic exposure system. While the interchangeable lens camera was continued in 1979, Fuji released a more budget-friendly fixed lens copy, the GW690 with a 90mm f/3.5 lens and the GSW690 with a 65mm f/3.5 lens. Both cameras lacked any internal meter, a simple accessory (cold) shoe, and an odometer that counts the shutter releases to help photographers know when to have the camera serviced. Users complained about the lack of a bulb mode on the shutter (there was a time mode) and the noise generated by the odometer and shutter. It wouldn’t be until 1985 that Fuji released the updated GW690II and GSW690II. Both cameras were almost the same as the original model, but the handgrip changed from simple grooves to a checked pattern, the branding of Fujica dropped in favour of Fuji, two sets of strap lugs and a hot-shoe. The odometer and shutter mechanisms were made more silent. Production continued until 1995, when Fuji released the GW690III and GSW690III, completely overhauling the body design.



Impression
The GSW690II is big; everything is big, from the handgrip, the shutter release, lens, and winding leaver. Yet, this camera took the idea of a fixed lens rangefinder and scaled it up, so all the controls got scaled up also. Nothing on this camera feels cramped or crowded. Not for the faint of heart or for someone who likes their cameras compact. But if you’re a fan of the mid-century fixed lens rangefinders, you will feel right at home with the GSW690II. The on-camera controls are few, with only the shutter release and big winding leaver on the top plate; your hot shoe and film counter control are also available. This knob has three settings; you have the option of a short 120 roll (4 exposures, so 020 format??), a standard 120 roll (8 exposures) or 220 (16 exposures). There is also a front shutter release button with a locking collar; this is great for having the camera in your bag, so you don’t waste a frame. The exposure controls are on the lens itself as the leaf shutter is housed in the lens assembly. Thankfully the two controls are different surfaces, with the apertures having a pair of raised sections while a grooved ring controls the shutter speed. Also, the clicks have different feels, with the aperture being solid while the shutter speed is far smoother in travel. The focusing ring is a rubberised checker pattern and is large enough to operate. The viewfinder is big and bright; it is a bit disorienting to have the lens barrel sticking out in one corner, but there are framing lines to help with composition, and the rangefinder patch is big and gives off enough contrast. The film is loaded in a typical manner with a hinged back door. Fuji included two spring releases on the bottom to help load the spools into the camera. If you are using 220 film, you will have to slide off the pressure plate and flip it over to the 220 sides before loading the film. While hefty in the hands, with a good strap, the camera is comfortable to wear either with the straps on the one side or in a more traditional configuration.


Experience
Despite its size, the GSW690II is a camera that you could probably carry around all day without too much trouble; the only place it takes up room is in your camera bag. If you’re unsure of what you’re doing, Loading film can result in losing a frame. You have to make sure that your start points are lined up with a pair of small (easily missed) red dots on the take-up spool side of the exposure window. Pull the backing paper across, and then use the film advance to wind it through; it takes a couple of full pulls and then a quarter-to-half pull to align the arrow. Once there, close the back and pull away; the camera will automatically stop at the first frame. I have found that the viewfinder is big, bright, and easy to use; although some people have asked about a diopter to help, I cannot find any indication that Fuji released such an accessory. It is essential to pay attention to the frame lines as you have a big lens sticking out into your frame, so you may lose some of your images when composing. But don’t worry, that doesn’t affect the final result. And most importantly, the rangefinder patch is big, bright and makes focusing a breeze. Especially since the big focusing ring is super smooth and has the right amount of resistance to allow for fine focusing, the camera does lack an internal meter, so you will be forced to use either the Sunny-16 method or carry an external meter. I used my trusty Gossen Lunasix F for this review, although a shoe-mounted meter like the Reveni Labs would be the perfect companion. Alternatively, a pocket spot meter would also not be a bad choice. The exposure controls on the front of the lens assembly can be a bit trying, but each set has a separate window and are in different colours. Additionally, each setting is controlled by a different style ring and has a different click. The shutter is pretty silent, and the release on the front gives an excellent alternative if you don’t want to reach up top. The camera does not have a hair trigger, which is reasonable given the limited number of shots on a roll. It surprises me how short the throw is on the film advance lever; they could have gone with a long pull but instead decided to keep things short and go with a double pull.



Optics
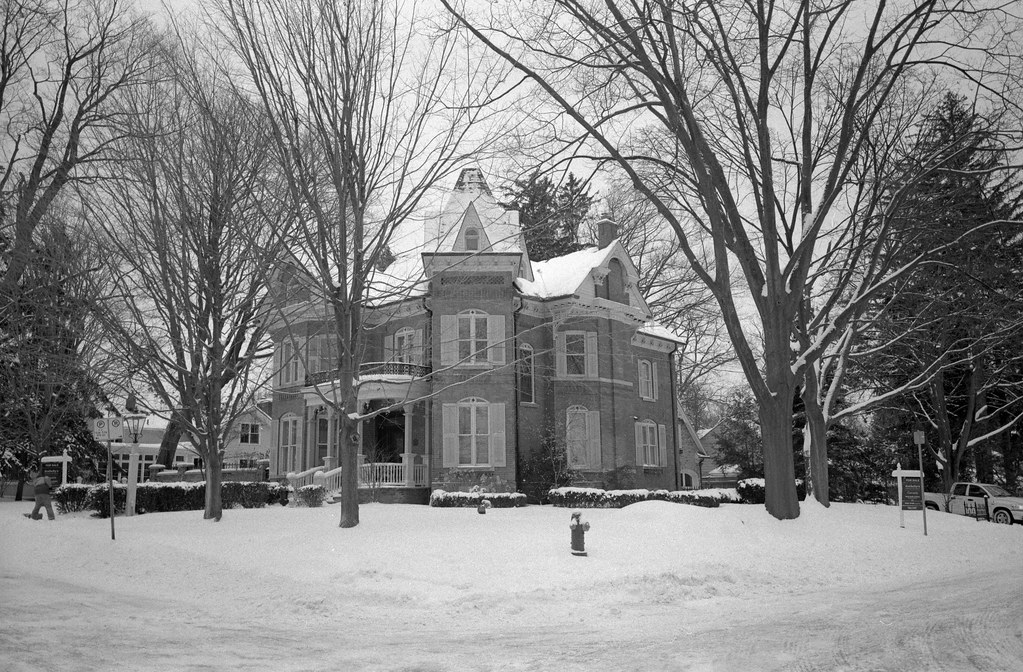
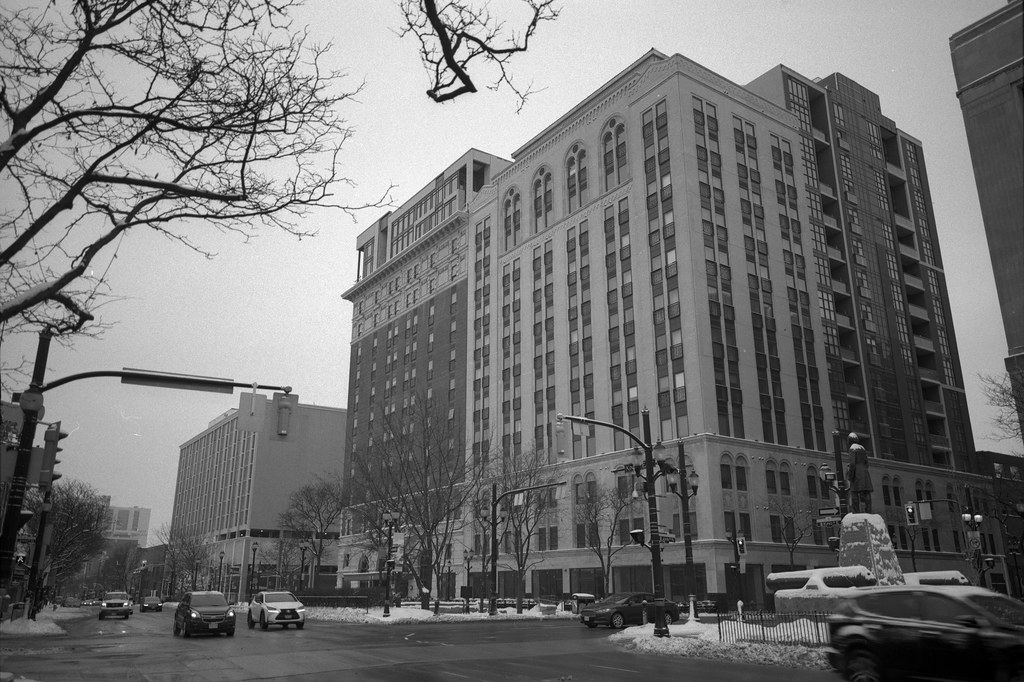
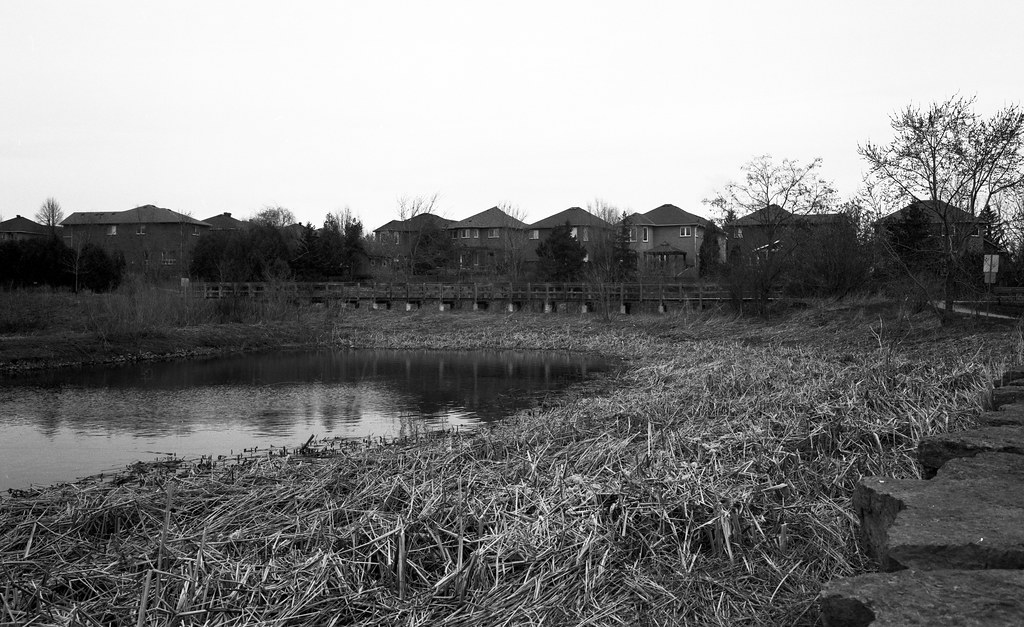
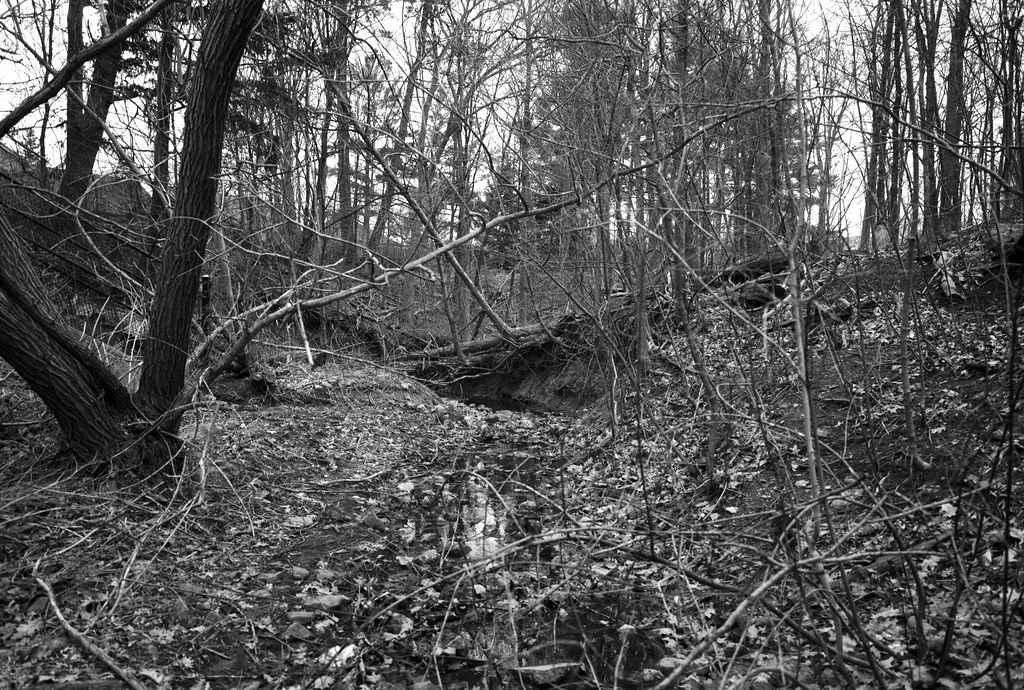
I have never met a Fuji lens that I didn’t like, and that GSW690II is no different. The lens has six elements in four groups and a 65mm focal length. That doesn’t seem too wide, but if you consider that you’re working with a 6×9 negatives, it’s equivalent to a 28mm lens. This isn’t an ultra-wide lens, but it’s a good angle of view for most applications with the camera. It also helps keep distortion down and makes it easier to shoot handheld down to 1/30 of a second. To address the elephant in the room, the lens is only f/5.6, relatively slow. Don’t let that get you down; this isn’t a camera designed for close focus, so with 28mm, even shooting at f/5.6, you will have your entire frame in focus. The shutter has five straight blades, which, when stopped down (f/32), you will get some star rendering of points of light. To get anything close to bokeh out of the lens, you will have to get in super close and open it up. Because the lens is comprehensive, you will get some problems with flare; thankfully, there is an integrated hood that works to keep the flare down. If there is one clear thing, the images are sharp. Especially when paired with a sharp film that is well developed. I got my best results from Ilford Ortho+ and Kodak Plus-X.

The Lowdown
The Fuji GSW690II is not a small camera by any means, it will take up a lot of space in your camera bag. But if you love the idea of a rangefinder and don’t mind manual controls and carrying around an external meter. Although, a hot shoe meter like the Reveni Labs or a plethora of new shoe-mounted meters released in 2021 is a perfect match for the camera. In that case, the GSW690II might be a camera worth a second look. Ideal for those who like wide-angle and big negatives that are excellent for landscape and cityscape work. While most 6×9 cameras are old box and folders, the Fuji GSW690II is a modern camera and still has plenty of life left. But don’t expect an easy ride to get one; they are available on the used market but come at a cost. You will most likely be buying the camera from a Japanese seller. For the original model, you’re going to be paying between 630-850$; for the II model, 850-1,100$ and for the III, look at 1,500$ and up. So it’s more of a pick your pain moment in choosing which one to get, but you may get lucky and find one at a better price point. From there it is only a matter of the camera’s age and condition. Thankfully being all mechanical, getting these things repaired is reasonably straightforward, with most camera repair folks being able to do work on Seiko shutters and adjusting the rangefinder. Plus with native 220 it’s a perfect option for the new CineStill 400D film in 220 format. While the GSW690II is not a camera I would add to my toolkit, my choice is worse on the pocketbook, a fixed lens Fuji 6×7 rangefinder.
Further Reading
Don’t only take my word on the GSW690II, check out these other reviews from fellow bloggers.
Film Shooters Collective – Fuji GSW690II Professional Review
My camera 📷 😍 🤪 ♥️
Hello Alex,
I have been using this camera since it was introduced with a Minolta Spotmeter. I have been using Tri-X rated at 200 and I meter for highlights. Conventional wisdom says to meter for shadow detail because you can burn in the highlights. I meter for the highlights and let the shadows fall where they may. In a way I treat the film like slide material. You don’t want the highlights to blow out. I had someone develop my film for years but that person moved away so I sent a note to Kodak asking about development times for Tri-X rated at 200 ASA and I think you will appreciate the reply. FWIW I recently completed a project distilling my entire life’s work in black and white to 100 images and from there I printed 79 images onto 8×10 Ilford FB MG paper using a 4×5 Omega with Chromega D Dichroic head.
Dear Mr. Frank,
First, I want to thank you for your years of patronage to Kodak films. It is always heartening to hear from film users and this makes all the work to put out such wonderful films that much more rewarding.
I have also had some wonderful exposures made on Tri-X Panchromatic film in the 135 format. I prefer this film, above all others, when I go and shoot old monuments in cemeteries due to the film’s grainy pattern. My use, and I am sure my pictures, are only a shadow to those which you have made over your years shooting in that picturesque State of California.
Your letter to the Kodak EIAmericas Help Center was forwarded to me for answering. As I am sure you know, the Kodak Tri-X 400 Panchromatic Film is manufactured by Eastman Kodak Co., but then it is sold to Kodak Alaris who handles all marketing and customer interactions. Thus, I took your note and forwarded it on to Kodak Alaris to insure not only that they were aware of your inquiry but to formulate a “co-company” answer to best meet your questions. Thus, this note is being sent on to both members of the EI Help Center and Kodak Alaris.
I’ve worked at Kodak since 1985 in various roles and positions but primarily in Quality functions. For close to 18 years, I worked as a Product Quality Engineer servicing the emulsion coating processes and product release for many products within the Motion Picture Film portfolio including the black & white films such as Tri-X Pan Reversal Film. A part of that role was understanding the testing systems to measure film and control the product coating to coating to insure that the film’s remain consistent.
I’ll reverse your questions and answer the question on film speed first. Kodak Tri-X Pan Film is documented in Kodak Alaris publications to be a 400 speed film. Actually, it is a little slower than 400, but there is no film which is precisely the listed speed on its box. I hope in this example, you’ll understand more about this and I’ll explain why after. Listed below is the Technical Information DlogH plot for Tri-X 400 in D-76 developer. This chart displays the characteristic curve with four different development times. I will not get into the details about the actual exposing which led to the data in this chart, but that (light, step tablet, sensitometer, densitometer) are all involved and traceable to national standards, so that we can assure that the light and what a film will “see” will be accurate to a documented LogH value.
Here is how the speed is calculated. Professional & Consumer Films utilize the ASA speed rating system. ASA Speed is defined as being measured at the point 0.10 density above the D-min (or Gross Fog) of the film as developed in a developer similar to or in D-76, and that the film is properly developed. To determine whether a film is properly developed, a simple calculation is made where the LogH value of the speed point (0.1 over D-min) is determined and from that LogH, 1.3 LogH is added. At that point, the density of the curve is measured and must be 0.8 +/- 0.05 above the speed point density. In the chart, I’ve made those calculations for two of the four curves. The 8 minute development, in red, does not provide enough density between the speed point and the second point to be considered a properly developed negative. The 10 minute development line, in blue, is just a little high of that 0.8 +/- 0.05 rule, but for this exercise, I’ve opted to calculate the speed. . The ASA speed is calculated using the formula: File Speed = 0.8 / Anti log of the LogH at speed point. Working that equation out, the 10 minute speed is measured to be 349 (slightly overdeveloped based on the initial assessment of properly development). For a normally developed curve, the speed is right around 343.
Kodak and Kodak Alaris, as well as other manufacturers, can not list the film speed of their films as “403”, “329”, or in this case, ‘343”, and I am confident that no film is actually measured to be “400”. Speeds are always rounded up or down to the closest major speed, and those speed designations for use were selected well before I started working here (8, 12, 25, 50, 100, 200, 400, 800, 1600 & 3200). Sure there have been some occasions where other film speeds were selected, but those have only been used in the slower speed ratings (16, 32, 64) with the exception of 1000 speed. The Tri-X film is built with enough latitude to easily compensate for the speed rating of 343, which is roughly a ¼ stop slow of a true 400 speed. Cameras do not have the ability to fraction in quarter stops, nor are they built with variable speed adjustment settings to dial that in. In another developer, where we do perform some manufacturing testing of Tri-X 400 using a motion picture developer, D-97, I measured the film’s speed to be 439. Camera films are designed to provide a long enough straight line portion of the curve to capture images very well at least 2 stops over and under their state speed rating. I hope this explains how the 400 speed was selected for the product.
Your second question is around development times for Kodak Tri-X 400 that has been exposed at 200 using D-76 1:1. Using the product’s Technical Datasheet, linked below, and pulling those recommended times and speeds from the table for processing in a small tank @ 70 deg., a simple Excel table can be derived. This type of method will get you into the ball park, and for a 200 speed rating, processing would be a little more than 7 minutes and 30 seconds for the conditions I mentioned. This is using the agitation at 30 second intervals.
https://imaging.kodakalaris.com/sites/prod/files/files/products/f4017_trix_320400.pdf
Using the tables in the TI document, you should be able to select your precise temperature and make a similar table.
As you are already adding density to the film by treating the film as a 200 speed, thus over-exposing, I would be careful not to add too much development.
Most photographers tend to shoot any negative film with a little more exposure to get away from flare and potential grain issues, and I am confident that the film and prints you have created are benefiting from that same process. Some make that adjustment with shutter speed, others with F-stop and others with the film’s speed.
I do hope that this answer has provided you with closure.
Good luck with your continued use of film in the analog renaissance which is underway!
Fred
Frederick Knauf
EI Quality Manager / CTS Supervisor
Industrial Films & Chemicals Division
Eastman Kodak Company
frederick.knauf@kodak.com | (585) 722-2569
http://www.kodak.com